Cell Phone Cozy Tutorial #1
This week I will be blogging about three different ways you can crochet cell phone cozies. There are variations within each of these three ways I’ve come up with, so hopefully there will be one way you’ll like and want to try making. Cozies are functional since they protect your cell phones, and they can look super cute and stylish too! And of course, you can use this tutorial to make cozies for any device you have, including iPods, iTouches, mp3 players, etc.
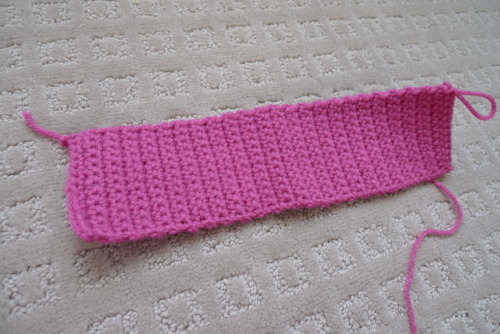
The first way consists of crocheting either one or two pieces and single crocheting these pieces together along the edges. Here, I’ve crocheted one long piece that will wrap around the iPhone 4. I measured the width of the device and single crocheted row after row until I got an appropriate length. If your device is thick (has more depth), start with the width a little bit longer than the device itself to account for this (otherwise it may be too tight). Be sure to measure your crocheted piece around your cell phone as you crochet to make sure it’s not too snug or too big.
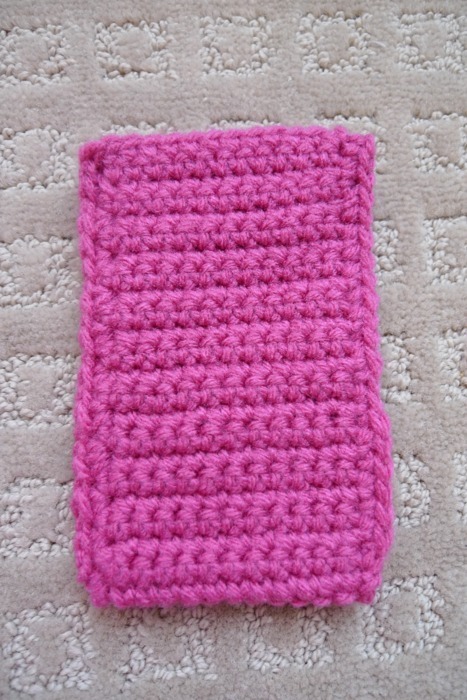
Fold the piece in half and single crochet the edges together down the left side as shown below. Bind off and hide the ends once you’ve reached the bottom of the left side.

Attach the yarn at the bottom ride side and single crochet upwards. Bind off and hide the ends once you’ve reached the upper right side.

You should get this finished product with two single-crocheted edges!
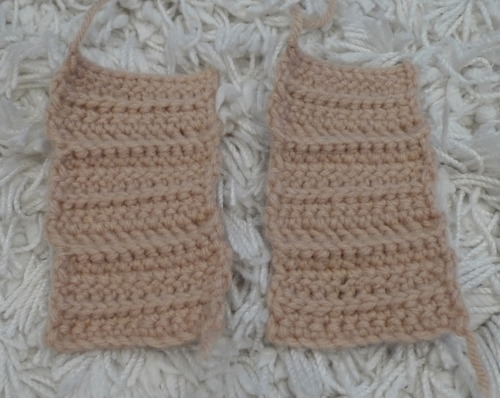
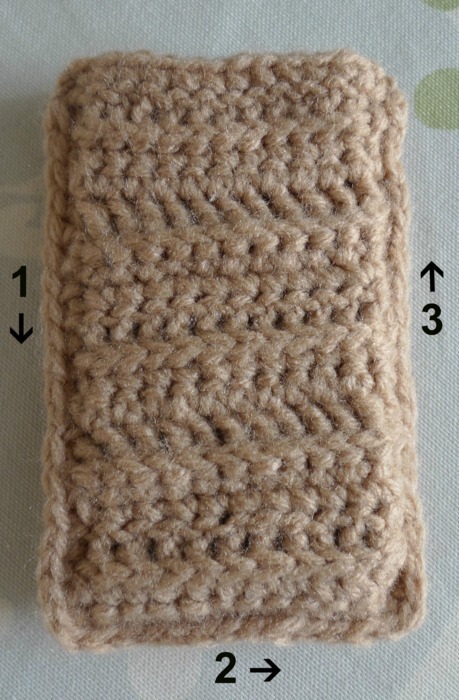
Another variation is to crochet two separate pieces measuring the same size. I wanted to vary the texture up a bit, so I alternated rows of back post and front post double crochets (click here to see how to do these stitches).
Place the two pieces ontop of one another and crochet down the left side (1), across the bottom (2) and up the right side (3). With this way, you do not have to bind off and reattach the yarn as you continuously single crochet around the edges. The bottom gets a single crocheted edge as well (as opposed to the pink cozy above).
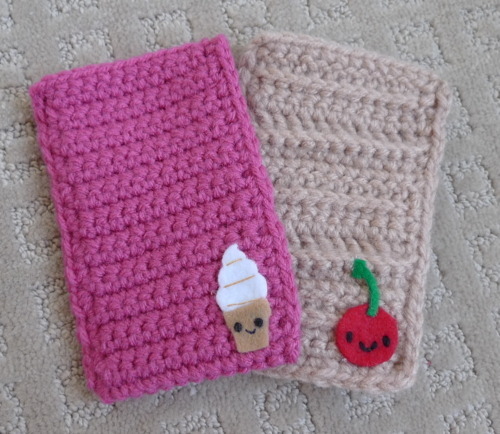
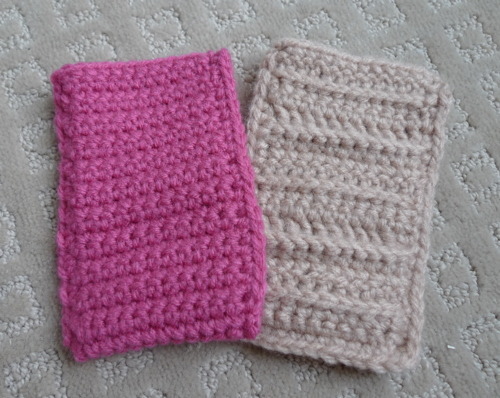
Here are the two cozies we’ve crocheted so far. They’re a bit plain, so if you’d like to jazz up your cozies, you can add felt pieces to make different designs.
We wanted to add a cute little ice cream cone to the pink cozy! Working with felt can be difficult, particularly if you’re cutting very small, precise shapes. And so, Ryan came up with this method to make this process easier. He sketched out the shapes that we wanted on plain paper and then carefully cut them out.

Next, we glued them onto small pieces of felt.
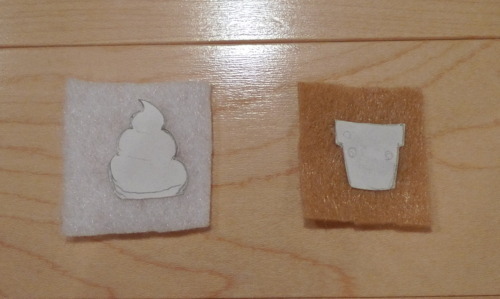
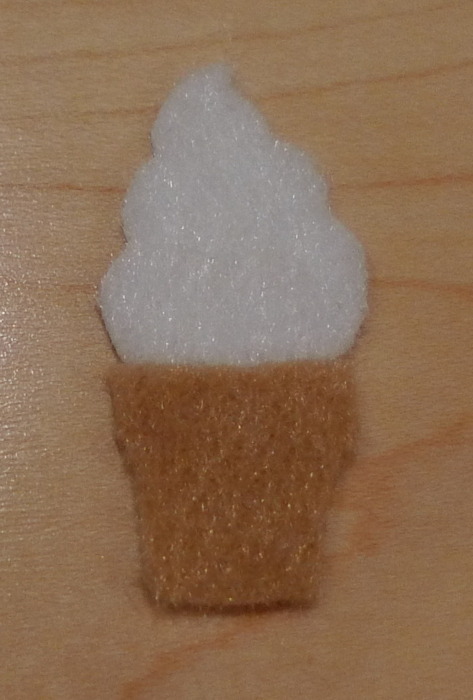
We then carefully cut out the pieces of felt. Here are the sides with the paper showing.

And here are the sides with the felt showing.
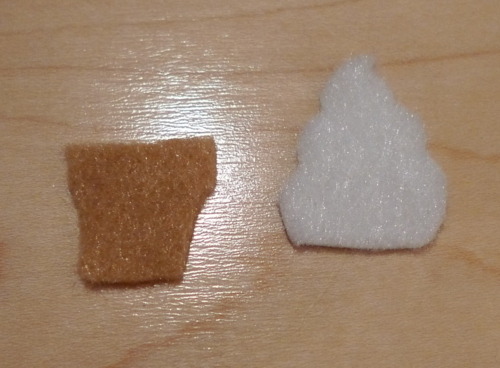
The ice cream cone is ready for some embroidery floss :)
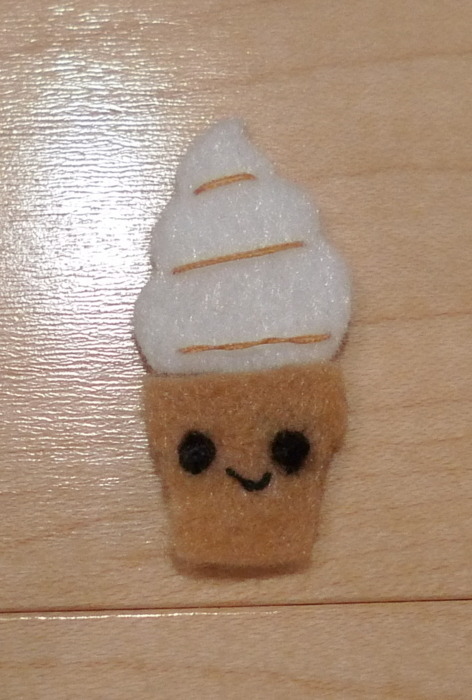
Ryan added some embroidery floss for the swirls in the ice cream and also added some eyes and a cute smile, just like our amigurumi!
We then used a glue gun to attach the ice cream cone to the cozy! Of course, you can always just cut the pieces out of felt (without using paper) and sew the pieces onto the cozies as well.
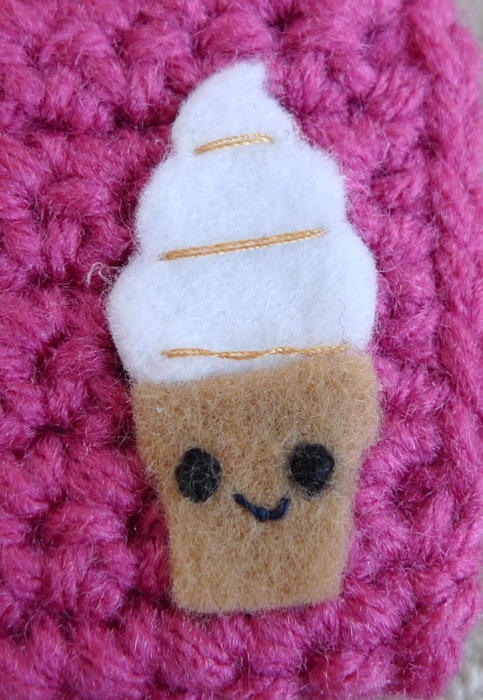
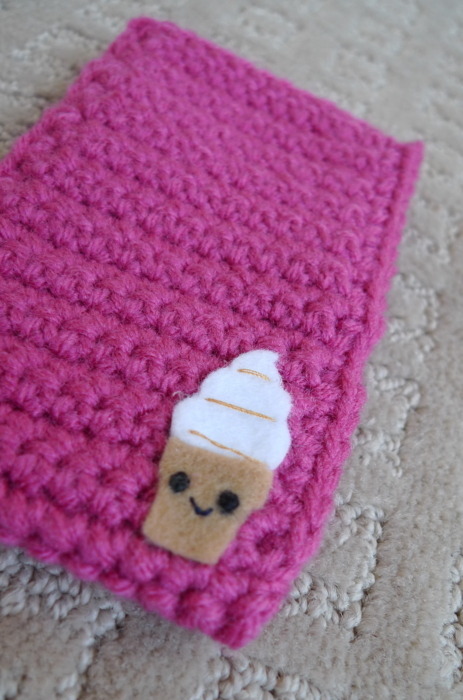
The ice cream cone suddenly brightens up the cozy and adds a cute touch!
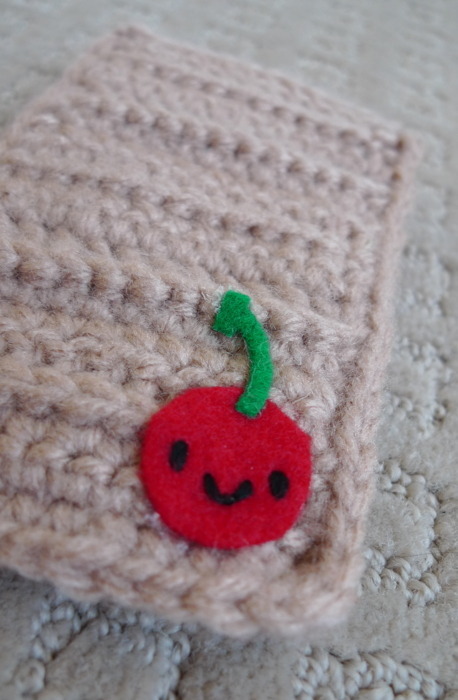
We made a cherry for the tan cozy! Thinking up different shapes and using your favourite foods is pretty fun :)

Adding a cute face makes everything super kawaii!
And here you have it! The first way to crochet cell phone cozies by single crocheting along the edges. I love making cozies since they’re pretty quick to crochet and you don’t have to keep the count (unlike amigurumi!). Check out Tutorial #2 and Tutorial #3 to see some other designs and ways to make cell phone cozies!